 How-to
How Do You Maintain Siding for Longevity?
Last Updated: October 28, 2026
Quick Summary
To maintain siding, inspect the whole house twice a year, in spring and fall, using a written checklist. Clean it at least once a year with a mild soap solution suited to the material, and fix small cracks or failed caulk before moisture gets behind the panels.
- Walk the full perimeter of the house in spring and fall, using binoculars for upper stories.
- Clean most siding at least once a year, and two or three times near trees, busy roads, or the coast.
- Mix 1/3 cup of mild dish soap per gallon of warm water for cleaning vinyl siding.
- Keep pressure washers at or below 1,500 PSI on vinyl and wood, and 1,200 PSI on fiber-cement.
- Repair when damage is limited to a few panels; replace when more than 20 to 25 percent of a wall is damaged.
Table of Contents
- Why Siding Maintenance Pays Off Over Time
- Step 1: Set Up a Siding Inspection Checklist
- Step 2: Learn How Often to Clean Siding
- Step 3: Learn How to Clean House Siding Safely by Material
- Step 4: Recognize Signs Siding Needs Repair
- Step 5: Decide Between Repair, Replacement, and Professional Help
- Scheduling Your Next Siding Maintenance Visit
- Frequently Asked Questions
Why Siding Maintenance Pays Off Over Time
Siding is the first line of defense between your home and the weather. Rain, sun, wind, and temperature swings wear it down every year. Most homeowners only notice siding when something looks wrong. Small problems caught early are far cheaper to fix than damage that has spread.
Learning how to maintain siding for longevity does not require special skills. It requires a simple routine, a few basic tools, and a habit of looking at your home twice a year. This guide walks through each step in order to help you maintain siding properly.
Siding maintenance pays off in three ways:
- Lower repair bills. A cracked panel caught early often needs one replacement board, not a wall of new siding.
- Better protection. Sealed joints and clean surfaces keep water out of the wall cavity.
- Stronger curb appeal. Clean siding looks newer for longer, which helps when it is time to sell or rent.
A common mistake is waiting until the paint peels or a panel cracks. By then, water may already have reached the sheathing behind it.
Step 1: Set Up a Siding Inspection Checklist
Start with a written checklist. A simple one-page list keeps your inspections consistent from year to year.
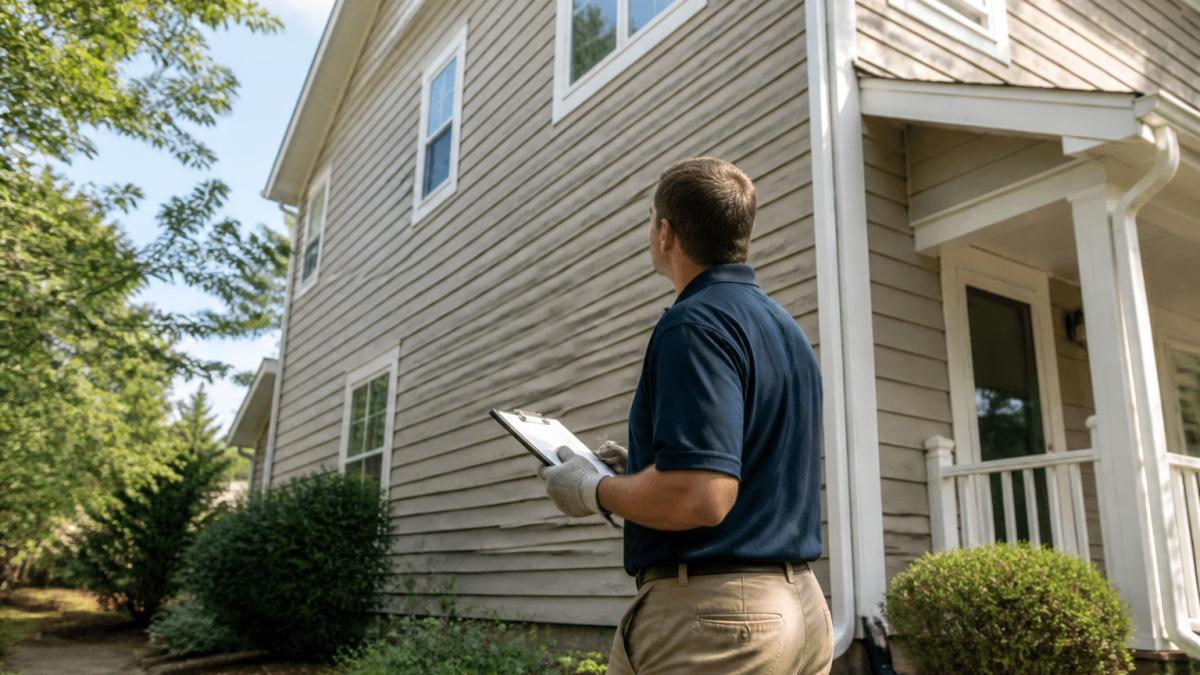
Walk the full perimeter of the house once in spring and once in fall. Use binoculars for upper stories, and look at the siding on each side, since sun and wind hit each wall differently.
Check these items on every visit:
- Cracks, holes, or chips in the panels
- Loose or bowed panels, especially near corners
- Gaps around windows, doors, and trim
- Caulk that is cracked, shrunken, or pulling away
- Soft spots when you press lightly on wood or fiber-cement boards
- Discoloration, streaks, or green or black growth
- Signs of pests, such as small holes, sawdust, or droppings
- Gutters that overflow onto the siding
Take photos during each inspection. Comparing this year's photos to last year's makes slow changes easy to spot.
Watch out: Do not climb a ladder on soft ground or with a loose base. Falls cause more injuries than siding problems do.
Step 2: Learn How Often to Clean Siding
Most siding needs a thorough cleaning once a year. Homes near trees, busy roads, or the coast may need it two or three times a year. Homes in shady, damp areas often grow mildew faster and need more frequent attention.
A simple schedule works well for most homes:
- Spring: Full wash after winter dirt and pollen build up.
- Fall: Light rinse to remove leaves, dust, and debris before the wet season.
- As needed: Spot clean after storms, heavy tree dropping, or visible stains.
Do not wait for the siding to look dirty. Dirt and mildew hold moisture against the surface, which speeds up wear.
Cleaning frequency depends on the home's surroundings, and the article lays out a simple seasonal schedule.
| Timing | Cleaning task | Why |
|---|---|---|
| Spring | Full wash | Removes winter dirt and pollen |
| Fall | Light rinse | Clears leaves and debris before wet season |
| As needed | Spot clean | Responds to storms, tree drop, or stains |
| Once a year | Thorough cleaning | Standard minimum for most homes |
| Two or three times a year | Extra cleaning | Needed near trees, busy roads, or coast |
Step 3: Learn How to Clean House Siding Safely by Material
Different siding materials need different care. Using the wrong method can strip paint, damage the surface, or force water into joints. The instructions below give specific dilution ratios, tool choices, and pressure-washer limits so you can clean without causing damage.
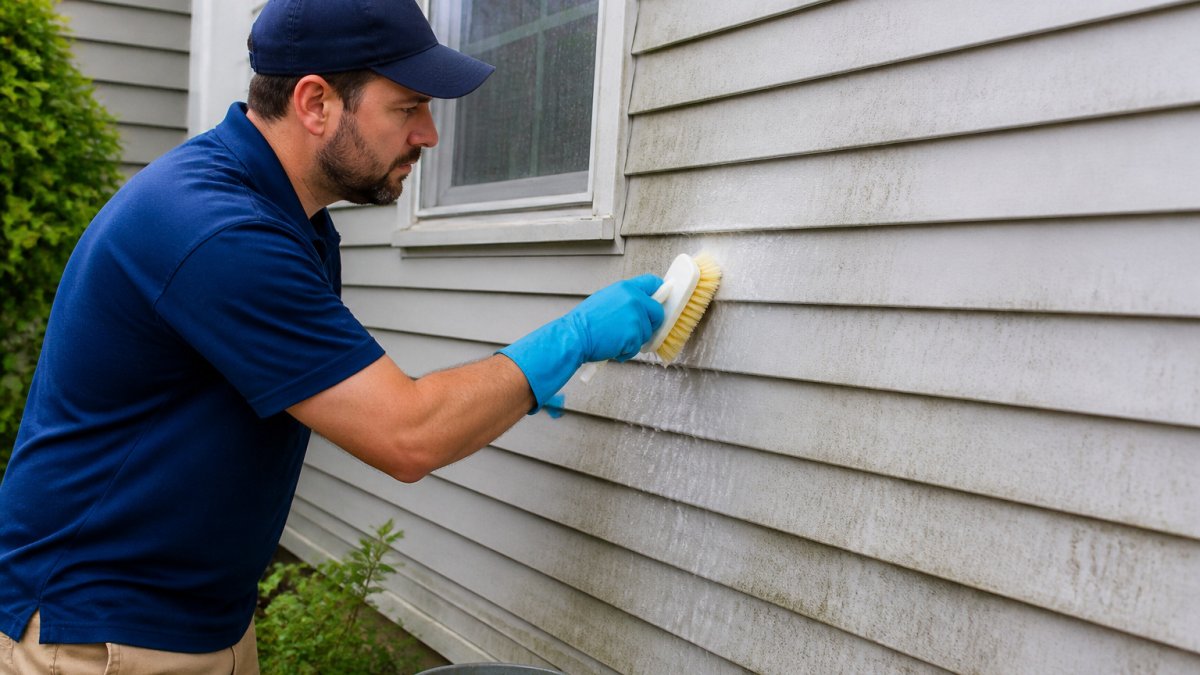
Vinyl siding: Mix 1/3 cup of mild liquid dish soap per gallon of warm water. Use a soft-bristle brush or a microfiber mitt on a pole, and work from the bottom up in small sections, then rinse from the top down. For mildew, use a solution of 1 part oxygen bleach to 4 parts water (or follow the label on a siding cleaner); avoid chlorine bleach on colored vinyl because it can fade pigment. If you use a pressure washer, keep it at or below 1,500 PSI, use a 25-degree or wider nozzle, and hold the wand at least 12 inches from the surface. Never aim the spray upward into seams or lock tabs.
Wood siding: Rinse with a garden hose and use a soft brush and mild soap (1/4 cup dish soap per gallon). Avoid high pressure entirely; even a 1,500 PSI washer can raise the grain and push water behind boards. Check the paint or stain coat each year by pressing a damp cloth against the surface: if the wood darkens quickly, the finish is failing. Spot-treat mildew with a 1:4 oxygen bleach solution, rinse thoroughly, and let the wood dry before recoating. Never sand or dry-scrape painted wood without testing for lead if the home was built before 1978.
Fiber-cement siding: Use a soft brush and a mild detergent solution (1/4 cup per gallon). For stubborn stains, a 1:4 oxygen bleach solution is generally safe, but rinse plants and the ground before and after. Keep pressure-washer use light: 1,200 PSI or less, 25-degree nozzle, 18 inches away. Never sand or dry-scrape fiber-cement; the dust contains crystalline silica and can be harmful to breathe. Wear an N95 respirator if you must handle damaged boards.
Aluminum and steel siding: These metal surfaces can be cleaned with the same mild soap solution, but avoid abrasive pads that scratch the finish. Rinse promptly to prevent water spots, and check for chalking (a white powder) that signals the finish is breaking down.
Trim back trees and bushes so they do not rub against the walls or hold moisture against the siding. Keep the garden hose pressure modest, and avoid spraying directly into vents or seams.
Step 4: Recognize Signs Siding Needs Repair
Repairs are easier when they are small. Look for these warning signs during each inspection:
- Hairline cracks that grow longer over time
- Panels that have pulled away from the wall or nails
- Paint or sealant that flakes off in patches
- Warped boards that sit unevenly
- Insect trails or small holes in wood siding
These problems point to moisture and movement behind the siding. Fixing the surface alone often does not solve the cause.
Moisture and Water Damage Warning Signs
Moisture is the biggest threat to siding. Watch for these signs of trapped water:
- Damp or spongy wood when pressed
- Bubbling or peeling paint near the ground or under gutters
- Musty smells inside walls near exterior corners
- Stains that run down from windows or vents
- Interior paint that bubbles or stains near exterior walls
A common approach is to check the gutters first. Clogged or misaligned gutters often send water straight down the wall. If the damage keeps returning in the same spot, a professional should look at the wall cavity.
Step 5: Decide Between Repair, Replacement, and Professional Help
Not every problem needs a full replacement. Use the decision framework below to sort small fixes from jobs that call for a pro.
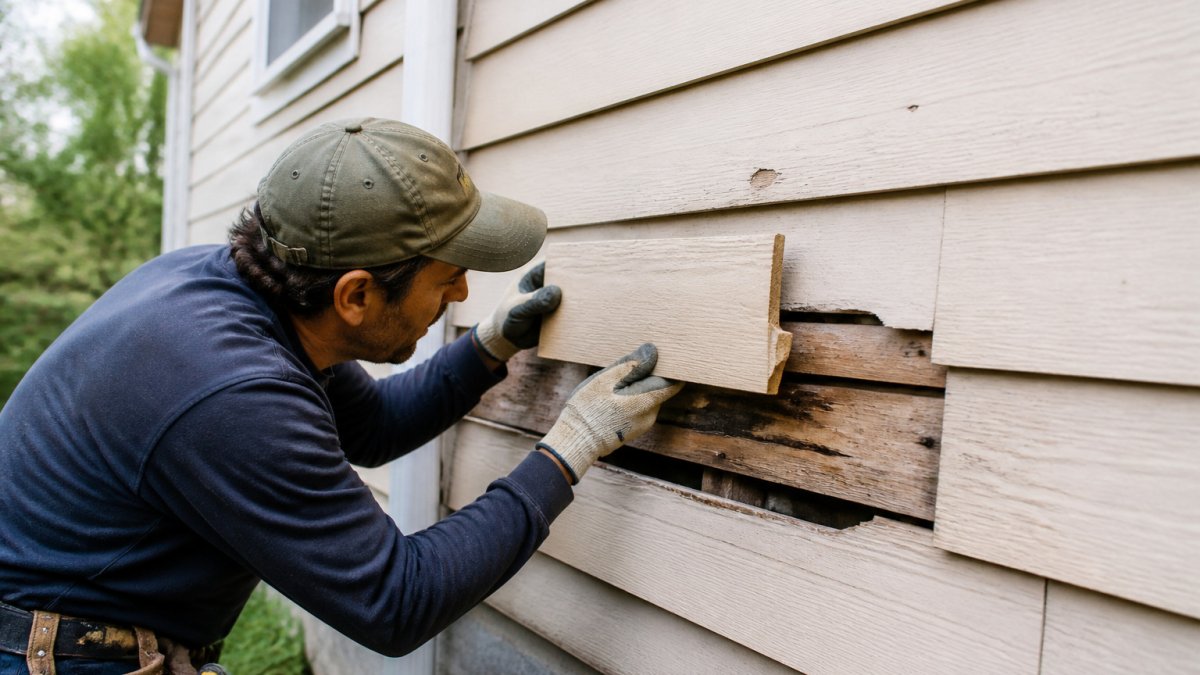
Repair when damage is limited to a few panels, the rest of the siding is sound, and the cause (such as a clogged gutter or failed caulk) has been fixed. Typical repairs include replacing one or two cracked vinyl panels, patching a small area of wood rot, or re-caulking joints around windows and doors. Most homeowners can handle caulk work and single-panel swaps on the first floor with basic tools.
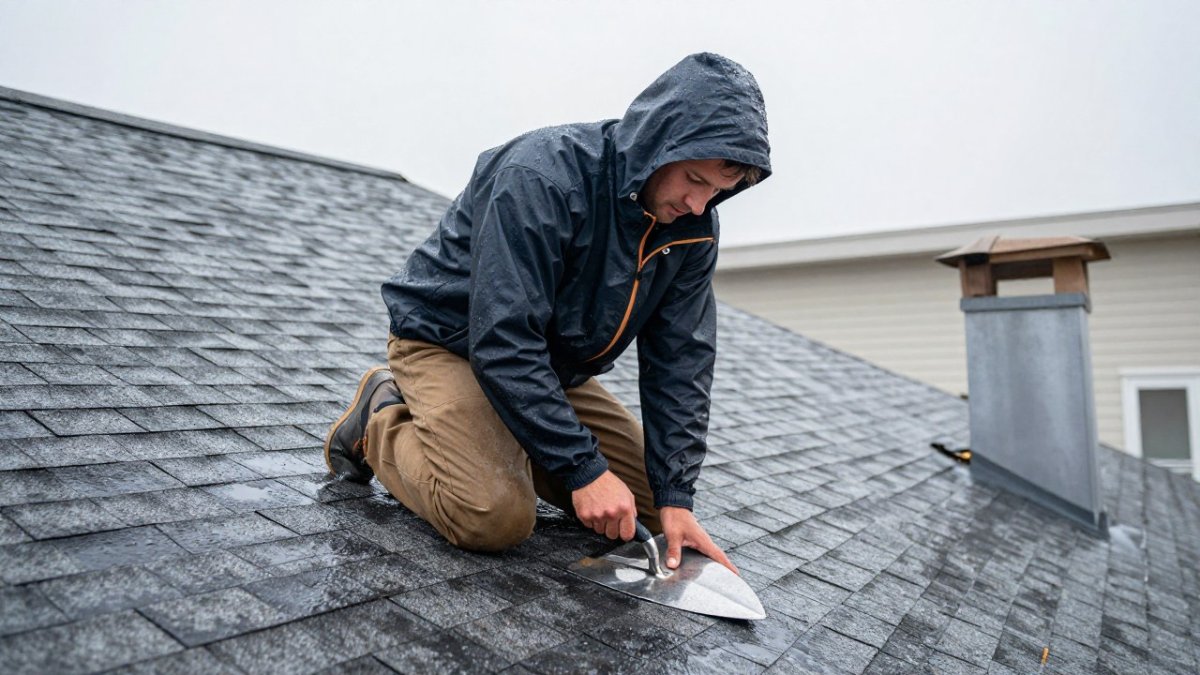
Replace when cracks, warping, or rot appear across large areas, when repairs keep coming back in the same spot, or when the siding is near the end of its expected lifespan. As a rule of thumb, if more than 20 to 25 percent of the siding on a wall is damaged, full replacement of that wall is often more cost-effective than piecemeal repairs.
Call a professional when you see moisture inside walls, sagging structure, damage above a height you can safely reach, or any sign of mold behind the siding. Wall-cavity repairs and structural work are not DIY jobs. Before hiring anyone for siding work, you can follow a step-by-step guide to verify contractor insurance. When you are ready to bring in help, you can find local siding installation experts to contact.
Repair Versus Replacement Checklist
Use this checklist during your inspection:
- Damage extent: Is damage confined to one or two panels, or spread across a wall?
- Recurring problems: Has the same spot failed more than once in three years?
- Material condition: Is the siding brittle, chalky, or near the end of its rated lifespan?
- Moisture signs: Do you see soft wood, bubbling paint, or musty smells inside?
- Age of home: Homes built before 1978 may have lead paint; test before sanding or scraping.
If you answer yes to two or more of the recurring-problem, material-condition, or moisture-sign questions, get a professional assessment before investing in more repairs.
Cost Ranges and DIY Boundaries
Doing simple cleaning and caulk work yourself saves money. Before you commit to hired repair, learn how to check contractor warranty terms. Leave roof edges, ladder work above one story, and wall-cavity repairs to trained crews.
Scheduling Your Next Siding Maintenance Visit
Put two dates on your calendar each year: one in spring and one in fall. On each date, run through the inspection checklist, clean the siding that matches its material, and note anything that needs attention.
Keeping a simple log makes the next visit faster. Write down the date, what you found, and what you fixed. Over time, that record shows which sides of the house need the most care.
If you want help with siding repairs, contact Real Property Industries, LLC.
Frequently Asked Questions
How often should you clean house siding?
Most homes benefit from cleaning siding once a year, typically in spring or early fall. Homes near trees, busy roads, or damp shaded areas may need cleaning twice a year to prevent mildew and dirt buildup. Use a garden hose and a soft brush with mild soap for routine cleaning, and reserve pressure washing for periodic deep cleaning with a low setting. Always check the siding manufacturer's guidance before pressure washing, since high pressure can force water behind panels and damage the material.
What is the best way to clean siding without damaging it?
Start with a garden hose to rinse loose dirt and debris. Mix a mild soap with water and scrub gently with a soft-bristle brush, working from the bottom up and rinsing as you go to prevent streaks. Avoid harsh chemicals, abrasive pads, and high-pressure settings that can crack vinyl or strip finishes from wood. Test any cleaner on a small hidden area first and rinse thoroughly so residue does not attract more dirt.
How often should siding be inspected?
A visual inspection twice a year, in spring and fall, catches most problems early. Walk around the entire house and look for cracks, loose or warped panels, peeling paint, gaps around windows and trim, and insect or woodpecker activity. Inspect more often after severe storms, hail, or a long stretch of heavy rain, because these events are the most common causes of sudden siding damage.
Does regular maintenance extend the life of siding?
Yes. Routine cleaning removes mildew and debris that hold moisture against the surface, and prompt repairs stop small cracks or gaps from letting water reach the wall behind the siding. Maintaining paint or protective coatings on wood and fiber-cement siding also slows weathering. Homeowners who inspect and clean regularly typically get more years of service from their siding than those who wait for visible damage before acting.